Recipes, Uncategorized
Painting bath bombs with micas !
Oct
Just one of the many uses of Micas
Painting bath bombs with micas can be a fun and creative way to add color and shimmer to your bath time experience. Micas are natural minerals that come in a variety of colors and can be used to give your bath bombs a beautiful, pearlescent finish. Here’s a step-by-step guide on how to paint bath bombs with micas:
Materials You’ll Need:
No Bath Bombs?
You can find an easy Bath Bomb recipe here:
Bath Bomb Recipe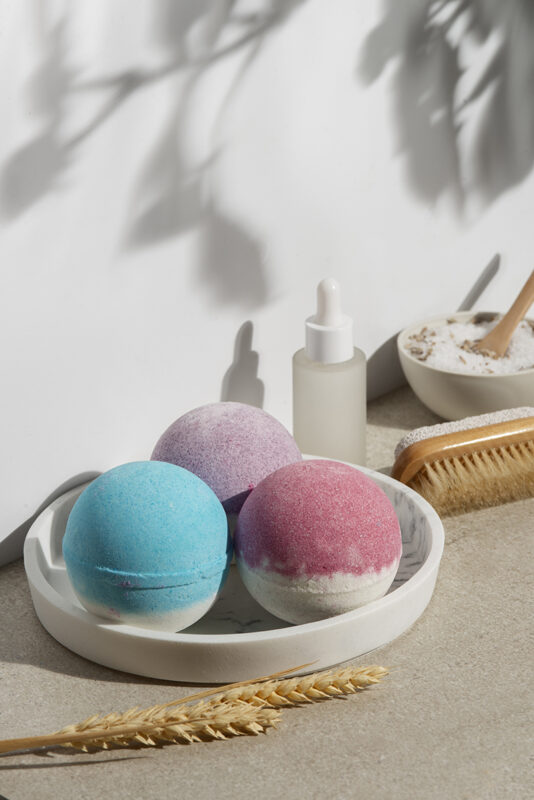
Step-by-Step Instructions:
1. Prepare Your Workspace: Cover your workspace with paper towels or a disposable tablecloth to prevent mica powder from spreading and making a mess.
2. Put on Gloves (Optional): If you’re concerned about getting mica on your hands, you can wear gloves during the process.
3. Mix the Micas: Take a small container or palette and mix the mica colors you want to use. You can create custom colors by blending different micas together. Add a small amount of each mica to the container.
4. Prepare a Clear Alcohol Solution: In a separate container, pour a small amount of isopropyl alcohol or a clear alcohol-based spray. The alcohol will act as a binder to help the mica adhere to the bath bomb.
5. Dip the Paintbrush: Dip a fine-tipped paintbrush into the alcohol solution, making sure it’s damp but not soaking wet.
6. Apply the Micas: Dip the damp paintbrush into the mica mixture, picking up a small amount of mica powder. You can also use a small dropper or pipette to drop some of the alcohol-mica mixture onto a palette and dip your brush into that. Be sure to tap off any excess powder to avoid clumps.
7. Paint the Bath Bomb: Gently and carefully paint the bath bomb with the mica mixture. You can create patterns, swirls, or simply coat the bath bomb evenly. Experiment with different designs and color combinations. The alcohol will help the mica adhere to the surface of the bath bomb.
8. Let It Dry: Allow the painted bath bomb to dry for a few hours or overnight. The alcohol will evaporate, leaving the mica behind on the bath bomb.
9. Optional: Seal with Clear Spray: To ensure the mica adheres well and doesn’t easily rub off, you can give the bath bomb a light spritz with the alcohol-based spray once the initial layer has dried.
10. Package or Use: Once the bath bombs are completely dry, you can package them in airtight containers or use them in your bath for a colorful, shimmering experience.