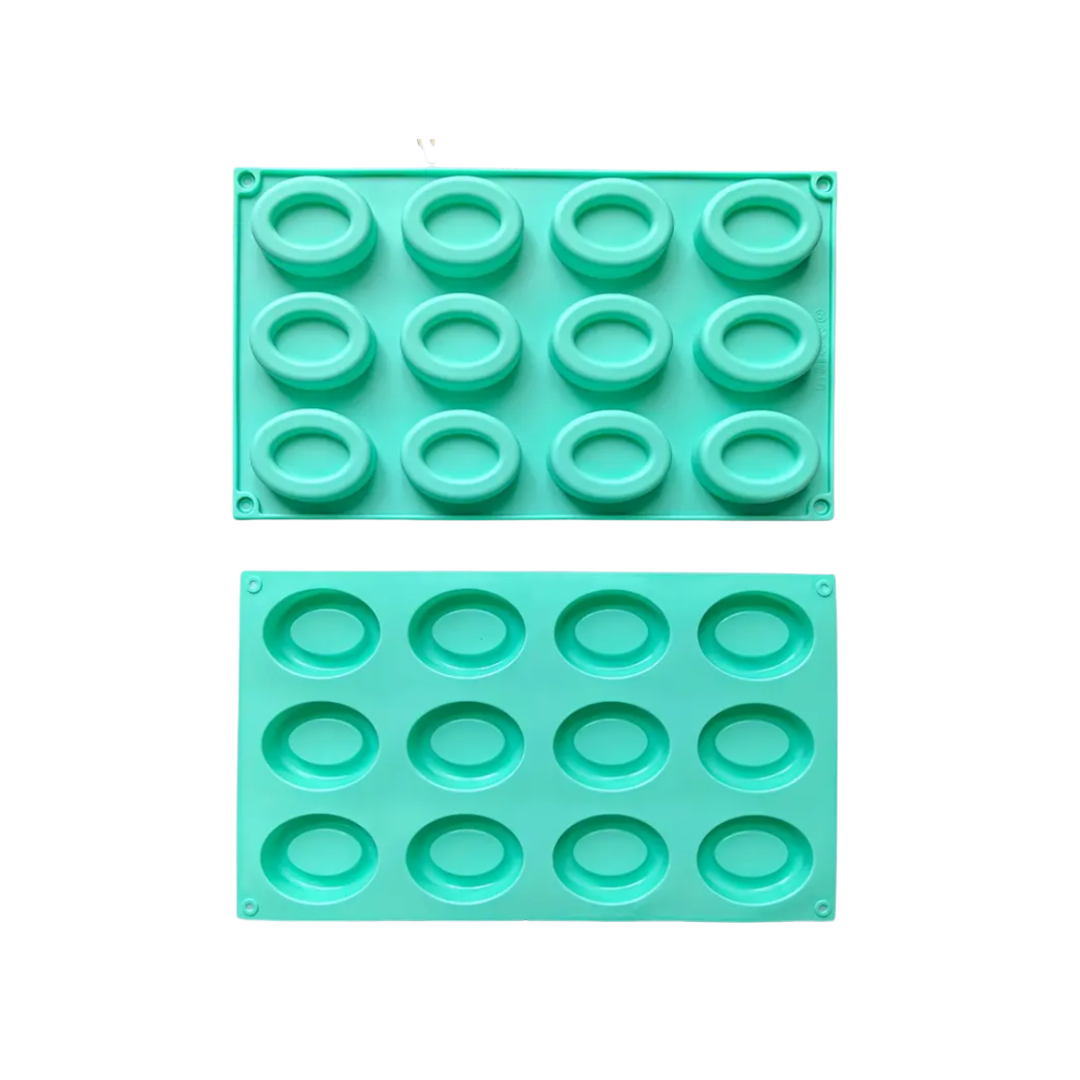
12 Cavity Shallow Oval Mould
R114,35
12 Cavity Shallow Oval Mould (P&T) – This 12 cavity shallow oval mould is the perfect size for shower steamers and mini soap bars for gifting
10 in stock
12 Cavity Shallow Oval Mould (P&T)
Ideal for Soap, Candle, and Creative Crafting
Unlock your creativity with our versatile Silicone Mould, perfect for crafting beautiful soaps, candles, and many other DIY projects. Made from high-quality, flexible silicone, this mould offers easy release, durability, and detailed shaping that ensures professional-looking results every time.
Key Features:
-
Flexible and Non-Stick: The silicone material is highly flexible and non-stick. This means you can easily remove your creations without damaging their delicate shapes or details.
-
Durable & Reusable: Designed to withstand repeated use, this mould resists heat, cold, and chemicals. Therefore, it works well with many crafting techniques.
-
Safe for Multiple Uses: The mould is food-grade and non-toxic, making it safe for soaps, candles, bath bombs, chocolates, and more.
-
Heat and Cold Resistant: It handles temperatures from -40°C to 230°C (-40°F to 446°F). As a result, it is perfect for candle pouring, soap melting, baking, and freezing.
-
Intricate Detail: The mould captures fine details beautifully, allowing you to create highly decorative, professional-quality products.
-
Easy to Clean: Silicone moulds are dishwasher safe and simple to clean by hand, saving you time between projects.
Common Uses:
-
Soap Making: Create soaps with smooth edges and intricate patterns.
-
Candle Crafting: Make decorative candles that burn evenly and look stunning.
-
Bath Bombs & Cosmetics: Shape bath bombs, lotions, or creams with unique designs.
-
Baking & Culinary: Use for chocolates, gummies, jellies, and other food creations due to its food-safe properties.
-
Craft Projects: Ideal for resin art, clay, plaster, and other creative crafts.
Why Choose Our Silicone Mould?
This mould offers unmatched versatility, durability, and ease of use. Thus, it suits both hobbyists and professional artisans. Its non-stick surface ensures smooth removal without cracking or breaking your creations. Whether making gifts, products for sale, or personal projects, this silicone mould helps you achieve flawless results.
How to Use: Feet Mould
Simply pour your melted soap, wax, resin, or mixture into the mould and allow it to set. After hardening, gently flex the mould to release your creation effortlessly. Then, clean the mould with warm soapy water and let it dry before reuse.
Elevate your craft with our Silicone Mould — the essential tool for creating beautiful, detailed soaps, candles, and more. Order yours today and bring your artistic ideas to life with ease and precision!
| Weight | 0,100 kg |
|---|---|
| Dimensions | 20 × 20 × 20 cm |
Related products
Fizz Ball Ingredients

