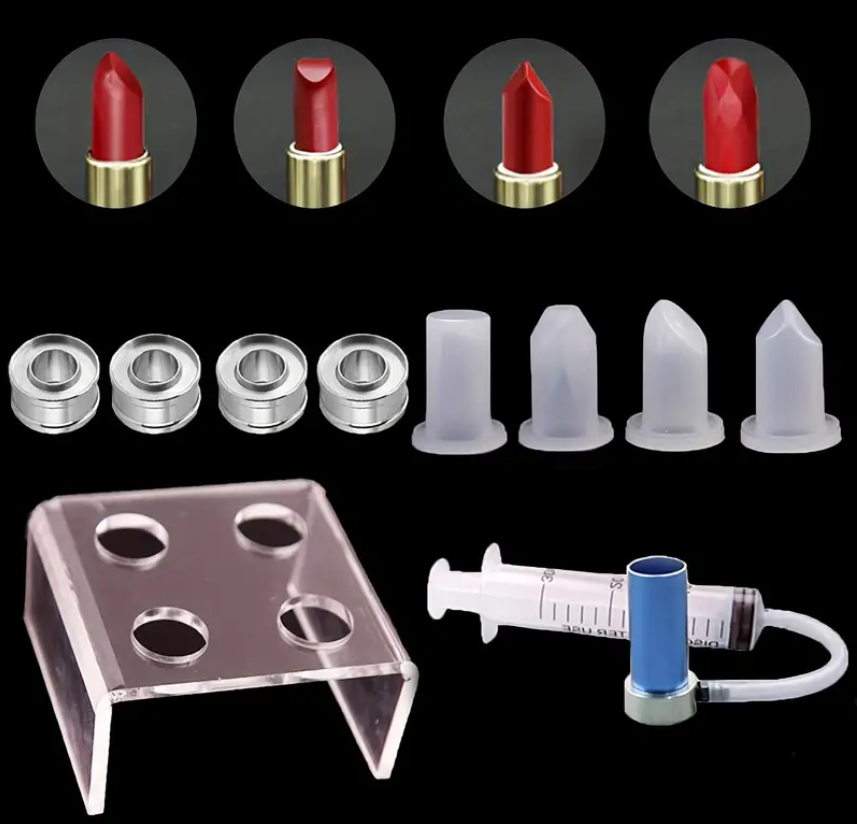
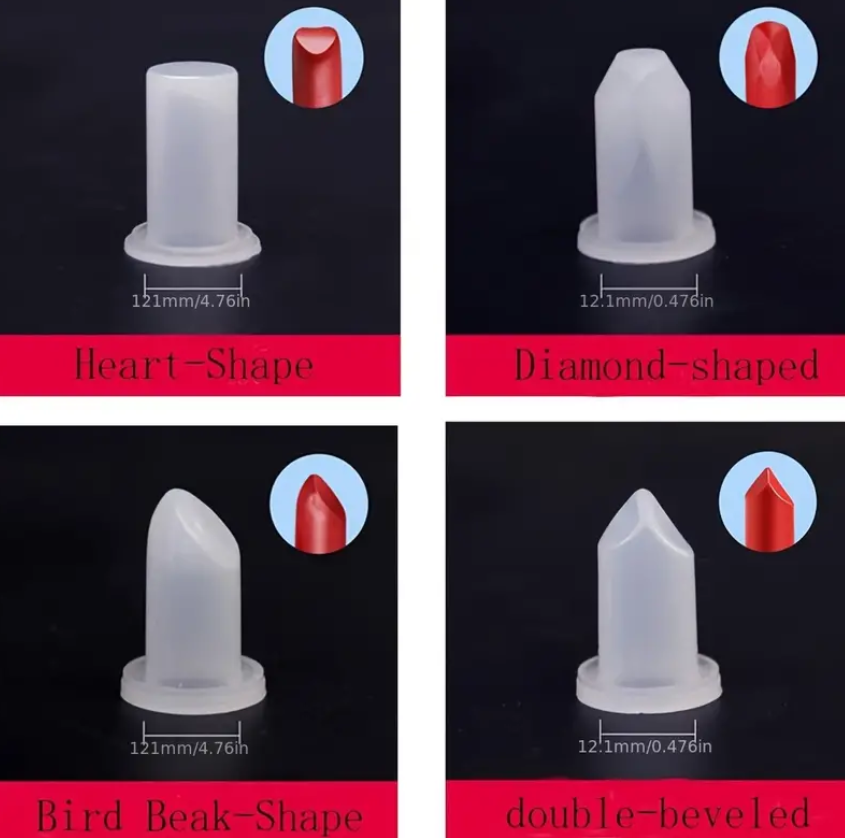
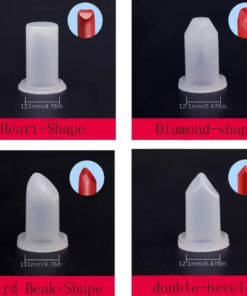
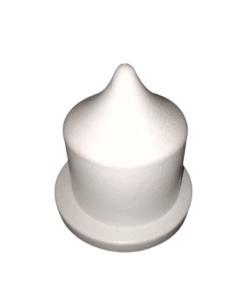
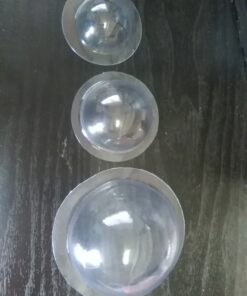
Lipstick Mould Set – 4 Designs
R300,00
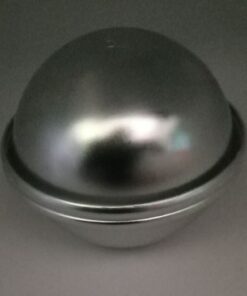
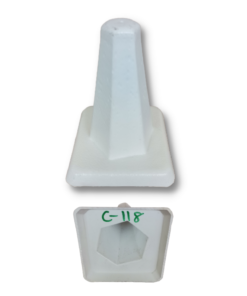
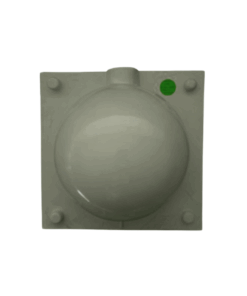
Lipstick Mould Set – 4 Designs – offers endless possibilities for crafting personalized, high-quality lip products for your use. Demolding kit included.
4 in stock
A lipstick making mold kit is an excellent tool for crafting custom lipsticks at home or in a small business setting. Also included in the kit is the demolding items. Here are various uses and creative ideas for making the most of a lipstick making mold kit:
Basic Uses:
- Custom Lipstick Colors:
- Create unique lipstick shades by mixing different pigments and dyes to match your desired color.
- Lip Balm:
- Use the mold to make tinted or clear lip balms with nourishing ingredients.
Advanced Lipstick Making:
- Matte Lipstick:
- Formulate matte lipsticks by incorporating ingredients like silica or clay for a non-shiny finish.
- Glossy Lipstick:
- Make glossy lipsticks by adding more oils and butters to the formulation for a shiny finish.
- Metallic and Shimmer Lipsticks:
- Mix in mica powders or glitter for metallic and shimmery lipsticks.
Personalized Lipsticks:
- Custom Scents:
- Add essential oils or cosmetic-grade fragrances to create lipsticks with unique scents.
- Flavor Additives:
- Incorporate lip-safe flavorings for a pleasant taste, such as vanilla, mint, or berry flavors.
- Customized Packaging:
- Design personalized lipstick tubes and labels to give as gifts or sell as part of a custom cosmetics line.
Specialized Lip Products:
- Lip Tints:
- Make lighter, more transparent lip tints that provide a hint of color and hydration.
- Lip Stains:
- Formulate long-lasting lip stains that provide color without the heavy feel of lipstick.
- Lip Treatments:
- Create therapeutic lip treatments with ingredients like shea butter, coconut oil, and vitamin E to moisturize and heal lips.
Creative Projects:
- Themed Collections:
- Develop themed lipstick collections, such as seasonal colors, holiday shades, or celebrity-inspired lines.
- Mix and Match:
- Make mini lipsticks in different shades for a mix-and-match lipstick palette.
- Dual-Tone Lipsticks:
- Create dual-tone or gradient lipsticks with two colors in one stick for unique makeup looks.
Practical Tips:
- Ingredient Selection:
- Choose high-quality, lip-safe pigments, oils, and waxes to ensure a smooth, safe product.
- Melting and Mixing:
- Use a double boiler to melt waxes and oils evenly, and mix thoroughly to avoid clumps of pigment.
- Pouring:
- Carefully pour the melted mixture into the mold, ensuring the mold is clean and prepped to prevent bubbles and imperfections.
- Cooling and Setting:
- Allow the lipsticks to cool and set completely before removing them from the mold to ensure they hold their shape.
- Sanitization:
- Always sanitize your equipment and workspace to maintain hygiene and prevent contamination.
Business Applications:
- Small Batch Production:
- Produce small batches of custom lipsticks for a boutique cosmetics business.
- Product Testing:
- Use the mold kit to create prototypes and test new formulations before scaling up production.
- Workshops and Classes:
- Host lipstick making workshops or classes where participants can create their custom shades.
Using a lipstick making mold kit offers endless possibilities for crafting personalized, high-quality lip products. Whether for personal use, gifts, or starting a business, this tool can help you explore creativity in cosmetics.
| Weight | 0,500 kg |
|---|---|
| Dimensions | 10 × 10 cm |
